Guides with all the necessary steps for you to repair any fault in the Woxter X200 PRO yourself


With the help of a fine tool we separate the casing from the chassis around its entire contour until it is separated


We remove the protective adhesive and expose the battery connection with the help of a soldering iron, we release the soldering points that join the battery to the motherboard


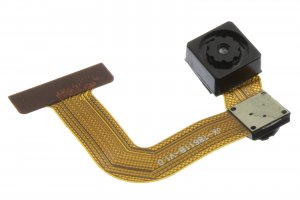
We extract the adhesives that hold the cameras in place and once removed we release the connection with the help of a fine tool and once the connection is released we can remove them from their housing with the help of a fine tool and detach it from its base


