Guide with all the necessary steps so that you can change the components of the TCL Tab 10s (9081s) tablet yourself.


Before starting we must remove the tray with the cards from the tablet that we are about to repair.


With the help of a plastic tool we will unhook all the edges of the back cover.


We remove the adhesive that gets in the way to carry out the following steps, and with a flat tip tool we will disconnect the battery in order to work with greater safety.


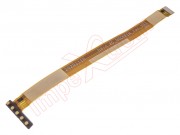
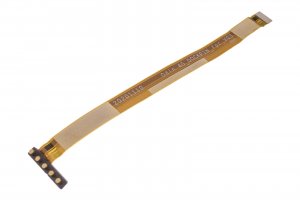
We remove the Phillips screw (PH # 00) that holds the shield that covers the flex connector, and with a flat tool we will disconnect the flex with POGO connectors, and thus we can remove the back cover and work more comfortably.


Once we have disconnected the flex from the motherboard, we will have to extract them from the back casing, for this we must remove the two Phillips screws (PH # 00) that hold the shield, and with a metal spatula we will take them off the casing.