Guide with all the necessary steps so that you can change the components of the Xiaomi Redmi Note 9 Pro (M2003J6B2G) yourself.


First, we apply heat to the back to soften the adhesive and to be able to peel it off.


We introduce a metal tool to make our way and then we introduce a plastic spike-type tool so as not to damage the casing and we separate it around its entire contour until it is completely detached.


With a Phillips screwdriver (PH # 00) we extract the eleven screws indicated to separate the housing from the terminal with a thin plastic tool.


With a fine opening tool we disconnect the battery to work more safely.


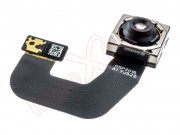
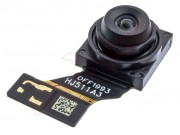
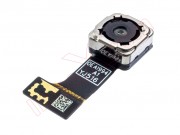
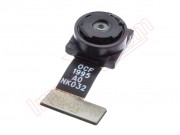
We release all the camera connections one by one and extract the module that is on the motherboard.


With the help of a fine tool we are detaching the cameras from their housing until they are all removed from the module.