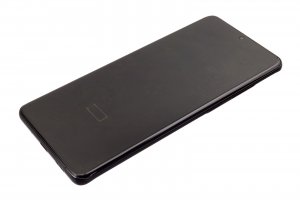
Guide with all the steps necessary for you to change the components of the Samsung Galaxy S20 Ultra 5G (SM-G988B) yourself.


First of all we must apply heat to the casing to soften the adhesive that holds it, and with the help of a fine enough tool we will open a small hole through which we will introduce one or more plastic spikes, with which we will take off all the edges of the housing.


We disconnect and detach the NFC antenna module and wireless charging.


We remove the five Phillips screws (PH # 00) that hold the shield, and once removed we can disconnect the battery to work with greater security.


We extract the five screws that hold the speaker, and with the help of a flat tool we unhook it.


We remove the four Phillips screws (PH # 00) that hold the top cover, and with the help of a flat tool we will unhook it.


We remove the two Phillips screws (PH # 00) that hold the rear camera module and the motherboard.


We disconnect all the components that are connected to the motherboard, we also remove the card tray with the help of the extraction tool, and we can now lift the motherboard.


We lift the shield that covers the buttons, and remove the other shield to which the flex is attached with the buttons. And with the help of the same tool, we push the side keys from inside the chassis.


We remove the two bridge flex that are above the battery, and with the help of a tool thin enough, which we can moisten a little with alcohol to soften the adhesive that holds the battery, we will take it off.


We take off the earpiece and the front camera.


We extract the three Phillips screws (PH # 00) that hold the auxiliary plate, and with the help of a flat tool we will lift it.


And to finish we just have to take off the vibrator from the screen that we are going to replace.


