Guide with all the necessary steps so that you can change the components of the Nokia 3310 (TA-1030) yourself.


To open the case, we will use an opening tool between it and the frame to unhook it. This can also be done with your hands or letting it fall to the ground being careful not to break a tile. : P
Then we remove the battery lever.


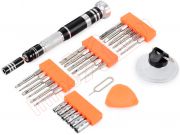
Remove the six Torx T4 screws that hold the housing and then, prying, release the notches that hold it.


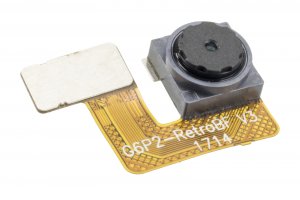
It only remains to disconnect and detach the camera from the motherboard.