Guide with all the necessary steps so that you can change the display of the Wolder miTab New York yourself.


Before starting, make sure the tablet is off.


Remove the SD card by opening the lid on the side.


Remove the 2 T4 Torx screws securing the rear housing.


Separate the housing, unhooking the contour with a plastic opening tool.


Disconnect the battery from the motherboard.


The battery is stuck by two pieces of adhesive. Remove it by sliding underneath a card or with a plastic spatula.


Unplug the flexes from the base plate, activating the tab of each of the connectors.


Disconnect the flex from the cameras and from the side buttons.
Separate the microphone from the plastic frame.


Disconnect the flex from the volume and ignition pushbuttons.


Remove the 5 Phillips screws (PH # 00) that hold the motherboard.
Separate the base plate, prying gently.
Use antistatic protection to manipulate the base plate with your hands.


Disconnect the data flex from the touch screen.


Separate the speaker, held by 1 Phillips screw (PH # 00).
Peel off the auxiliary plate and separate it next to the speaker.


Remove the 2 Phillips screws (PH # 000) located in two of the corners.
Save the metal anchors.


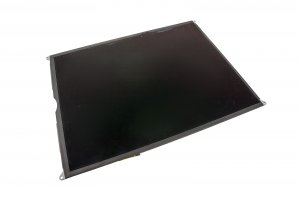
Hold the display with a suction cup and release the plastic frame around the contour.