Guide with all the necessary steps so that you can change the components of the Apple iPad mini 4 (A1538) yourself.


We apply heat to the screen to soften the glue, and with the help of a suction cup we will lightly lift the screen to introduce the spike and go unsticking all the edges of the screen.


Remove the 2 Phillips screws (PH # 00) and disconnect the flex from the screen.


Remove the 4 Phillips screws (PH # 00) from the antenna and take it off.


We take off the stickers that get in our way.


We remove the Phillips screw (PH # 00) that holds the speaker, disconnect it and we can remove it.


Remove the adhesive, disconnect the speaker flex, and the two Phillips screws (PH # 00) that hold the speaker and we can remove the speaker.


We remove the 2 Phillips screws (PH # 00), we take the shield and disconnect the coax, and we take off the antenna.


We remove the front camera, and disconnect the flex from the audio connector.


We disconnect the flex from the rear camera, the light sensor and microphone, the side buttons, and the battery.


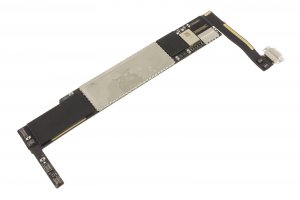
Remove the 6 Phillips screws (PH # 00) from the area of ??the load connector, and with the help of a tool, take off the base plate.


