Guide with all the necessary steps so that you can change the Wiko Rainbow Jam motherboard yourself.


We will start by removing the back cover. To do this we will use a spike, which we will move along the contour of the phone to release the notches that hold it.


To remove the battery, we will lift it from the bottom, where we will find a notch for this purpose.
To remove the cards, we will simply pull them out.


To remove this case, first remove the eleven Phillips screws (PH # 00) that hold it to the chassis. Once the screws are removed, we will use a flat tool to release it.


Now we will begin to disconnect the components connected to the motherboard to be able to remove it later. First we will take off the flex of lateral pulsers which we will desoldate later. Then we will disconnect the flex from the display.


In this step we will disconnect the cameras. To do this, in both cameras, we will lift the fastening tab of the plate connector and pull them or the flex.


Now we will disconnect the flex from the digitizer and the connection with the bottom plate.


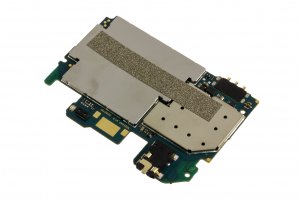
Now, to remove the motherboard, we can remove the rear camera if we had not done it before. Afterwards, we will leverage with a tool so that we can disengage it. Before removing it completely, we will disconnect the coaxial antenna cable.


To finish, we will desoldaremos the flex of lateral pulsers of the base plate.


