Guide with all the necessary steps so that you can change the components of the Wiko Lenny 4 Plus yourself.


We start by removing the back cover. To do this, we introduce a flat tool between it and the frame and, using lever movements, release the notches that hold it.


Remove the six Phillips screws (PH # 00) that hold the casing and disengage it.


In this step we disconnect the rear camera from the motherboard and disengage it.


Disconnect the flex from the plate screen and remove the Phillips screw (PH # 00) that holds it. Now we will lift the plate to disconnect the coaxial cable and thus be able to remove it.


We heat the screen to about 70ºC for about a minute to soften the adhesive.
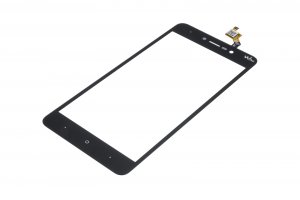
With the hot screen, we slide a flat tool between it and the frame to take it off. Then we will slide the flex of the screen through the hole in the chassis.


