Guide with all the necessary steps for you to change the components of the Ulefone Note 7P yourself.


First we must unhook the back cover, for this we will use a flat tool.


Remove the eleven Phillips screws (PH # 00) that we indicated in the first picture, take off the fingerprint reader, and underneath we will find another screw just like the previous ones, and using a flat tool we will unhook the intermediate housing.


We disconnect the battery to work with greater security.


We remove the battery shield.


We disconnect all the components that are connected on the motherboard.


We take off the side buttons of the phone's chassis, remove the three Phillips screws (PH # 00) that hold the motherboard, take off the headset, and with the help of a flat opening tool, we can remove the motherboard with the components.


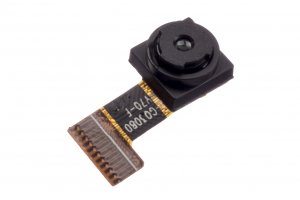
To finish we will disconnect the broken camera that we are going to change.


