Guide with all the necessary steps so that you can change the components of the Samsung Galaxy S20 (SM-G980F) yourself.


First of all we must apply heat to the back shell to soften the adhesive that holds it, and with the help of a plastic pick we will peel off all the edges of the shell.


We remove the five Phillips screws (PH # 00) that hold the intermediate shield to which the wireless charging coil is attached, and with a flat tool we will unhook it, and we can now disconnect the battery, in order to work with greater security.


We remove the four Phillips screws (PH # 00) that hold the housing, and with a flat tip tool we will unhook it.


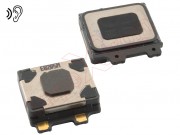
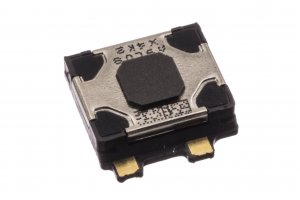
To finish we will take off the damaged handset that we have to replace.