Guide with all the necessary steps for you to change the components of the Realme 6 Pro (RMX2063) yourself.


To start, we extract the card reader with the help of a SIM removal tool.


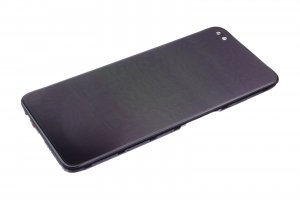
We apply heat to the back cover to soften the adhesive that holds it (approx 5min at 75º C), we introduce a fine opening tool and we open enough hole to insert a plastic spike and with it we will take off all the edges of the housing without damaging it .


We remove the five Phillips screws (PH # 00) that hold the lens of the rear cameras, then with a fine tool we unhook it and remove it.


We remove the thirteen Phillips screws (PH # 00) that hold the intermediate casing and with a fine tool we unhook all the edges and extract it.


We disconnect the fingerprint reader.


We will disconnect the battery to work more safely.


We lift the adhesive that protects the two front cameras, disconnect them and remove them.


We disconnect and extract the four rear cameras.


We disconnect the components of the motherboard (interconnection flex, display flex and coaxial cable).
We remove the Phillips screw (PH # 00) that holds the motherboard and with the help of a fine plastic tool we take it off and extract it.


We take off and carefully remove the buttons.


With the help of a fine tool, we take off and remove the earpiece


With the help of a fine plastic tool we pry and remove the speaker.


We disconnect the coaxial cable and the interconnection flex, pry it off with a fine plastic tool and remove the auxiliary plate.


With fine-tipped tweezers we take off and remove the vibrator.


We lift the stickers as shown in the first image and take off the battery by pulling the sticker it brings.
To peel it off more easily we can lift it a little and add a few drops of alcohol to soften the adhesive and remove it more easily.


We remove the excess adhesive from the battery, peel off the interconnection flex and remove it.


Finally, we extract the coaxial cable and we already have the screen ready for its replacement.