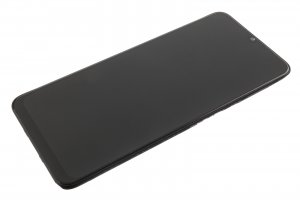
Oppo A9 2020 - Fullscreen

Guide with all the steps necessary for you to change the components of the Oppo A9 2020 (CPH1941) yourself.

Difficulty
1
2
3
4
5

Tutorial: Step by step

Step 1 Back case

To start we must apply heat to the back shell to soften the adhesive that holds it, and with the help of a fine metal tool we have opened a small gap between the shells, through which we have inserted a plastic pick to detach the back shell, and we will be less likely to scratch the case.

Step 2 Fingerprint reader connector

We remove the Phillips screw (PH # 00) that holds the cover that protects the connector, and with the help of tweezers we will remove it and we can now disconnect the fingerprint reader.

Step 3 Intermediate housing

We remove the fifteen Phillips screws (PH # 00) that hold the intermediate casing with frame, and with a flat tool we will unhook the bezel with the rear camera lens, remove the card tray, and with a fine tool we will unhook the intermediate casing .

Step 4 We disconnect battery

We disconnect the battery to work with greater security.

Step 5 Cameras

We disconnect and remove the rear cameras and the front camera.

Step 6 Base plate

We disconnect the bridge flex, the screen flex and the coaxial cable, extract the Phillips screw (PH # 00) that holds the motherboard, and with the help of a flat tool we will make a small lever to be able to lift the motherboard and thus we can extract it.

Step 7 Side push buttons

We peel off the stickers above the buttons, and with flat tweezers we will take off the buttons.

Step 8 Handset

We take off the handset.

Step 9 Battery and adhesive

We removed the battery and the adhesive that wrapped it.

Step 10 Speaker

We extract the four Phillips screws (PH # 00) that hold the speaker, and with the help of a flat tool we will unhook it.

Step 11 Auxiliary board

We disconnect the bridge flex and the coaxial cable, and with the help of a flat tool we will remove the auxiliary plate.

Step 12 Fullscreen

To finish, we will only have to take off the vibrator and the flex bridge of the damaged screen that we have to replace.

Video Tutorial summary

In this video you can watch a quick summary of the tutorial, but we recommend to follow the complete tutorial, with its explanations and detailed images.
Share this tutorial