Guide with all the necessary steps for you to change the components of the OnePlus 7T (HD1903) yourself.


To begin, we will apply heat to the back cover with a hot air gun, and using one or more plastic spikes we will take off all the edges of the case.


We remove the eleven Phillips screws (PH # 00) that hold the housing, and with the help of a flat tip tool we will unhook it.


To work with greater security we will disconnect the battery.


We remove the tray from the cards.


We remove the seven Phillips screws (PH # 00) that hold the speaker, and with the help of a flat tool we will unhook it.


We disconnect the flex bridge from both plates and we will remove it.


We disconnect the components that are connected in the auxiliary plate, and with the help of a flat-tip tool we will unhook it.


We disconnect and remove the flex with charging connector, in order to have greater comfort when performing the next step.


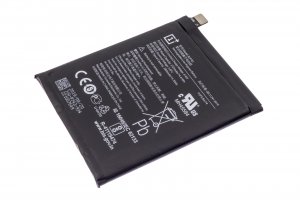
Finally, using the strip that protrudes from the side of the battery, we will take off the damaged battery that we have to replace.


