Guide with all the necessary steps so that you can change the Nokia 9 PureView components (TA-1087) yourself.


To begin, we must apply heat to the back cover, and with the help of a thin tool we will open enough space to introduce a plastic spike, with which we will take off all the edges of the case.


We remove the eight Phillips screws (PH # 00), take off the light sensor and the flash and we can unhook the intermediate housing.


We disconnect the battery to work with greater security.


Remove the five Phillips screws (PH # 00) that hold the speaker, and with the help of a flat tool we will unhook it.


We remove the tray.


We disconnect the components that are connected to the motherboard.


We disconnect the front camera and the coaxial cable, remove the five Phillips screws (PH # 00) that holds the motherboard, and with the help of a flat tool we remove it.


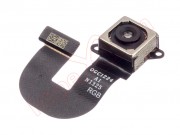
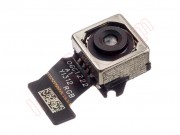
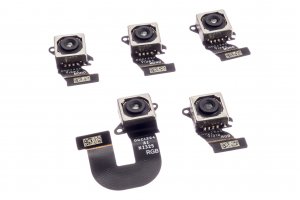
We disconnect all the rear cameras from the motherboard.


To finish we will unhook the armor that is in the back part and we can already remove all the cameras.