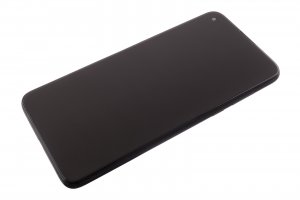
Motorola Moto G8 Power - Fullscreen

Guide with all the necessary steps so that you can change the components of the Motorola Moto G8 Power (XT2041-3) yourself.

Difficulty
1
2
3
4
5

Tutorial: Step by step

Step 1 Back case

We apply heat to the back cover, and with the help of a suction cup and a fine tool we will open a small hole through which we will introduce one or more plastic spikes and we will take off all the edges of the case, we can repeat the process of applying heat as many times as we need it, since the case is quite well glued.

Step 2 Fingerprint reader connector

With the help of a plastic tool we will unhook the cover from the fingerprint reader connector, and once it is removed we will be able to disconnect it.

Step 3 Intermediate housing

We extract the eleven Torx screws (T5) that hold the intermediate housing, and with the help of a flat tool we will unhook it.

Step 4 Battery

We disconnect and take off the battery.

Step 5 Handset

We take off the headset with the help of a flat tool.

Step 6 Motherboard with cameras

We disconnected the components that would prevent us from lifting the motherboard, we removed the two Torx screws (T5) that hold the motherboard, we removed the card tray, and with the help of a flat tool we will be able to lift the motherboard.

Step 7 Speaker module

We extract the eight Torx screws (T5) that hold the speaker module, and with a fine tool we will unhook it.

Step 8 Auxiliary board

We disconnect the interconnection flex and the two coaxial cables, remove the Torx screw (T5) that holds the plate, and with the help of a fine tool we will unhook the auxiliary plate.

Step 9 Vibrator

With the help of a fine metal tool we will take off the vibrator.

Step 10 Fullscreen

To finish we will take off the interconnection flex and remove the two coaxial cables that are found on the side of the phone's chassis.

Video Tutorial summary

In this video you can watch a quick summary of the tutorial, but we recommend to follow the complete tutorial, with its explanations and detailed images.
Share this tutorial