Hisense Sero 5 - Bottom plate

Guide with all the steps necessary for you to change the bottom plate of the Hisense Sero 5 yourself.

Difficulty
1
2
3
4
5

Tutorial: Step by step

Step 1 Hisense Sero 5

Characteristics:
Dimensions: 143.5 x 71 x 8.9 mm
Processor: MSM8926 Quad Core 1.2Ghz
Memory: 8GB? ROM? + 1GB? DDR2?
Display: 5 "HD, 1280 * 720, IPS
Main camera : 8.0Mpx CMOS AF Flash
Front camera : 2 Mpx
Battery: 2500mAh
Operating system: Android 4.3
Connectivity: Bluethoot, card reader, WiFi, GPS.

Step 2 Back case

We will start by removing the back cover. For this we will use a plastic opening tool, to avoid scratches, introducing it between the back shell and the frame.

Step 3 Intermediate housing screws

Now, to remove the back cover, we will have to locate and remove the eight Phillips screws (PH # 00) that hold it.

Step 4 Intermediate housing

Once the screws are removed, with the help of a tine we will separate the frame housing.

Step 5 Bottom plate

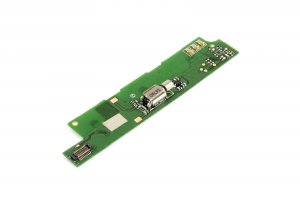
To remove the lower plate we just have to disconnect the interconnection flex and the antenna cable.

Video Tutorial summary

In this video you can watch a quick summary of the tutorial, but we recommend to follow the complete tutorial, with its explanations and detailed images.
Share this tutorial