Guide with all the steps necessary for you to change the components of Google Pixel 2 yourself.


We started by heating the screen at about 60ºC for about a minute.
Once hot, we introduce a tool between it and the housing and sliding it around the contour, we will take it off.


Remove the two Phillips screws (PH # 00) that hold the shield and remove it to disconnect and remove the screen.


In this step, we remove the nine Phillips screws (PH # 00) that hold the intermediate casing and disengage


Disconnect the flex cables from the motherboard and remove the two Phillips screws (PH # 00) that hold it to the chassis. Before removing the base plate, we will disconnect the flex from the fingerprint reader and the coaxial cables.


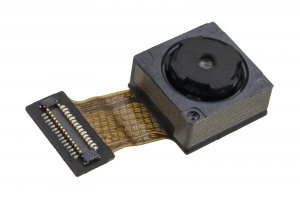
To finish, just need to disconnect and remove the camera from the motherboard.