Guide with all the necessary steps so that you can change the components of the Xiaomi Black Shark yourself.


We started by heating the screen at about 60 ° C for about a minute to soften the adhesive. We will slide a flat opening tool all around the contour to disengage the screen and take it off.


Remove the two Phillips screws (PH # 00) that hold the screen connector shield to disconnect it.


Take off the adhesive that covers the housing and remove the seven Phillips screws (PH # 00) to disengage it. Before removing it we will have to disconnect the flex sensor from the plate.


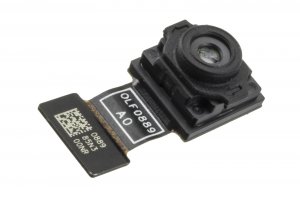
Now all you have to do is disconnect the camera from the motherboard and take it off carefully so as not to bend the shield on which it is resting.


