Guide with all the necessary steps so that you can change the components of the Honor Watch ES (HES-B09) yourself.


To begin, we must unhook the straps to be able to work with greater comfort.


We apply heat to the case to soften the adhesive a bit, and with the help of a fine tool we will unhook the edges of the case, and then we will disconnect the flex that is glued to the back case from the motherboard.


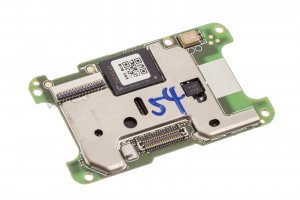
We remove the shield that covers the screen connector, remove the five Phillips screws (PH # 00) that hold the motherboard and the battery, and with the help of a flat-tipped tool we will lift it.


We hold the motherboard with a holding tool and thus we will desolder the battery with greater comfort.


